
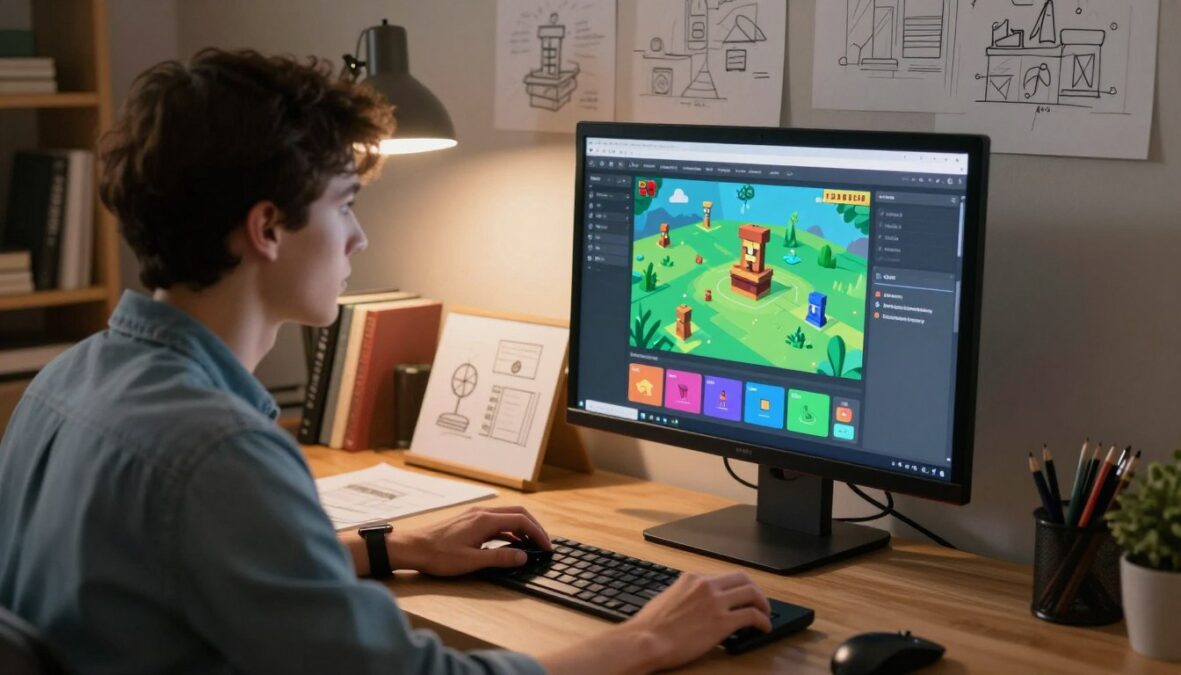
Yes, Wanaka Studio can turn a short description into a playable 3D game without traditional coding, making it a practical starting point for creators who want to prototype and refine an idea. Its browser-first workflow suits first-time creators testing 3D project ideas, though the generated first version still needs human direction.
The appeal is clear: you can start with a sentence instead of learning a game engine before trying an idea. That lowers the barrier to no-code creation, but it does not remove the need to make design choices, test mechanics, and revise weak results.
This review looks at what the creation workflow can do, where its limits matter, and which projects are a sensible fit. Treat the first generated version as a starting point to improve, not a finished commercial release.
Key Takeaways
- You can generate and publish a playable 3D game from a short description.
- The browser-first workflow is built for prototyping and iteration.
- A generated initial game still needs clear human direction.
- Visual editing and AI-directed changes provide two ways to refine a project.
- Check technical needs and intended output before investing in a larger project.
Wanaka Studio AI Game Engine Review 2026: How It Works
Wanaka Studio is an AI-native 3D game engine whose creation agent can work directly with game systems instead of only offering coding advice. Its declarative API is an interface where a creator describes the desired result and the system handles the underlying engine operations.
That distinction matters: the creation agent can use engine tools to change a project, not just suggest code for a person to enter elsewhere. In early November 2026, Wanaka Studio reached version 1.0, with more than 30 tools available for working on game elements.
The agent can shape a world and its behavior, but the creator remains responsible for the game’s goals and feel.
The declarative API and engine tools
A creator describes an outcome, such as a raised path or a moving obstacle, and the engine carries out relevant operations. The toolset covers physics, terrain, prefabs, behaviors, and lighting. A prefab is a reusable game object, such as a door or platform, with its parts and settings grouped together.
The more than 30 engine tools give the agent ways to work with these systems. That does not mean every request will produce the exact result on the first try. The agent still needs a usable instruction, and the creator needs to inspect the result in context.
The official Wanaka Studio product page describes the basic workflow: start from a written idea, then direct the agent or edit the world. This setup differs from a generic chatbot, which may explain how to make something but cannot itself change the game scene.
Where the creation agent fits
The creation agent acts as a control layer between a creator’s request and the game engine’s tools. It can help set up a space, add behaviors, or adjust a visual property. It does not decide whether the design is fun, readable, or balanced; those remain creative judgments for the person building the project.
That division can suit a first-time creator who wants to test a game idea without learning every engine operation upfront. It can also help an experienced designer sketch an early project faster. The engine’s toolset gives the agent ways to shape a world and its behavior, while the creator still decides what the game should become.
Game Types and Prompt Limits
A Wanaka Studio starting prompt can be up to 280 characters, so lead with the player’s main action and the kind of world the game needs. That limit favors a clear core idea over a full design document.
Use the starting description to say what the player does and what success looks like, then let later decisions shape the details. A prompt can identify a setting and a central mechanic, but packing in every enemy, level, and upgrade can make the main request harder to read.
Starting with a short description
Think of the first prompt as a compact brief for a game maker, not a complete specification. “Drive through a canyon and reach the finish” gives the generation a player action, a setting, and a goal. A string of loosely related features offers less direction because it does not show which mechanic should organize the playable game.
Keep the first request focused on the experience you want to test. You can decide whether the car needs drifting, collectibles, or a timer after seeing what the initial game actually contains. That approach leaves room to judge the central mechanic instead of reviewing a long list of untested assumptions.
Genres the studio supports
Wanaka Studio supports several broad game types. Grouping them by the kind of play involved can help you decide whether your idea fits a short starting prompt:
- Action: racers and shooters.
- Movement challenges: platformers and tower defense.
- Discovery: exploration games and puzzles.
- Systems play: simulations and city builders.
- Shared competition: multiplayer arenas.
These categories are starting points, not guarantees that every design within them will work equally well. A small racing course with one clear route is easier to describe than a sprawling driving campaign with many connected systems. The same principle applies to puzzles: state what the player must solve before adding several layers of rules.
Some 3D project ideas are better suited to a prototype than a full production plan. A short prompt can establish the main loop, while later iteration can reveal whether the game needs more detail. A small, clearly stated gameplay idea gives the creator a more useful starting point than a crowded list of features.
Editing a Generated Game
Wanaka Studio lets creators refine the generated world by directing the AI or changing models and gameplay themselves. The choice is between asking the creation agent for a specific edit and making a change directly in the world.
Focused revisions are easier to judge than broad requests such as “make it better.” A clear instruction could ask for a slower moving platform or a wider path. A vague request gives the agent little guidance about which part of the game needs attention.
Direct the agent or edit the world
Directing the agent is useful when you can describe the desired result but do not want to adjust every element manually. Editing the world yourself can be more direct when you already know which object or setting needs to change. Neither route guarantees a better game; the test is whether the revision supports the intended play.
After generation, avoid changing several systems at once. If you adjust the jump height, obstacle timing, and camera angle together, it becomes harder to tell which change helped. A single purposeful edit gives you a cleaner comparison between the old and new versions.
Make focused changes after generation
Use a repeatable loop to keep the project understandable:
- Play the current build and note where the experience breaks down.
- Identify one change, such as widening a landing platform.
- Request that change from the agent or make it in the world.
- Test the result again and decide whether to keep it.
For example, if a player keeps missing a jump, first check whether the gap or landing area is the real problem. Then change one element and replay the same section. This is a better way to learn than asking the agent to revise an entire level without saying what failed.
Keep the request tied to something you observed during play. “Make the checkpoint easier to find” is more useful when paired with a concrete change, such as moving it beside the path. Make one clearly defined change per pass so it is easier to see which edit improved or disrupted the game.
Remixing Community Worlds
A community world can give a creator a concrete starting point to adapt instead of asking the AI to invent every element from scratch. Remixing can save setup time, but the value comes from the changes you make to that world.
A remix should become a distinct project through deliberate changes, not just a renamed copy. Start by identifying the useful structure or mechanic in the existing world. Then decide what your own version needs to do differently for players.
This can help when a blank world feels too open or when you want to test a mechanic in a working scene. A community-created layout may already contain objects, space, or a pattern of play that you can adapt. The starting world is still someone else’s design, so your choices should give the project a clear reason to exist on its own.
Before making changes, write down a small remix brief. It can be as simple as “keep the moving bridges, change the player’s goal, and make the route shorter.” This helps you preserve the part that inspired you without carrying over everything around it.
Use these checks before you commit to a direction:
- Mechanic to keep: name the one interaction that makes the world worth adapting.
- Elements to change: identify which objects, layout choices, or behaviors need a different purpose.
- New goal to test: state what players should accomplish in your version.
- Originality check: remove or reshape details that make the result feel like a renamed duplicate.
For example, a world built around moving platforms could become a timing puzzle if players must coordinate their route. That is a meaningful shift only if the new goal changes how the mechanic works. Replacing a few colors while leaving the same play and objective intact may not give the remix a strong identity.
Remixing is also a practical way to learn how a finished scene is organized. You can inspect how its pieces work before changing the design, then keep only the parts that serve your idea. Before remixing, decide which part of the original idea is worth keeping and what your version will change.
A Visual IDE That Responds to Manual Edits
Wanaka Studio’s visual IDE keeps the creation agent connected to the 3D viewport, so manual adjustments can inform later AI changes. That two-way connection sets it apart from a chat interface that only sends instructions in one direction.
Changes made in the viewport can become part of the context for what the agent does next. This matters when you make a small spatial adjustment, then want related behavior to match the new position.
The AI agent and 3D viewport stay synchronized
Imagine moving a gate closer to a path in the 3D viewport. You can then ask the agent to open the gate when the player reaches a nearby switch. The manual placement gives the agent a changed scene to work with, instead of leaving the earlier layout as its only reference.
A one-way chat workflow can miss that kind of change if it cannot account for edits made elsewhere. Here, the agent and visual IDE work from the same evolving project. That does not mean the agent will infer every design intention automatically; describe the behavior you want in concrete terms.
Adjusting assets and parameters directly
The viewport gives you a direct way to adjust assets and parameters in the scene. You might move an object, change its placement, or tweak a setting that affects how it behaves. A precise manual adjustment can be quicker than describing an exact position in a message.
Use direct editing when your eyes can spot the problem faster than words can explain it. A tilted object, awkward spacing, or blocked sightline may be obvious in the scene. The agent can then help with connected changes, such as adjusting an object’s response to the revised layout.
Small scene edits can affect more than appearance. Moving an obstacle may alter the time players have to react, and changing a switch’s position may make its trigger harder to reach. Check both the viewport and the resulting behavior after an edit, since a visual adjustment can change how a game element works.
Art, Characters, Animation and Audio
Wanaka Studio brings character, environment, animation, interface, visual and audio creation into a single workspace. That range can help a creator assemble the pieces of a prototype without switching between separate production tools for every task.
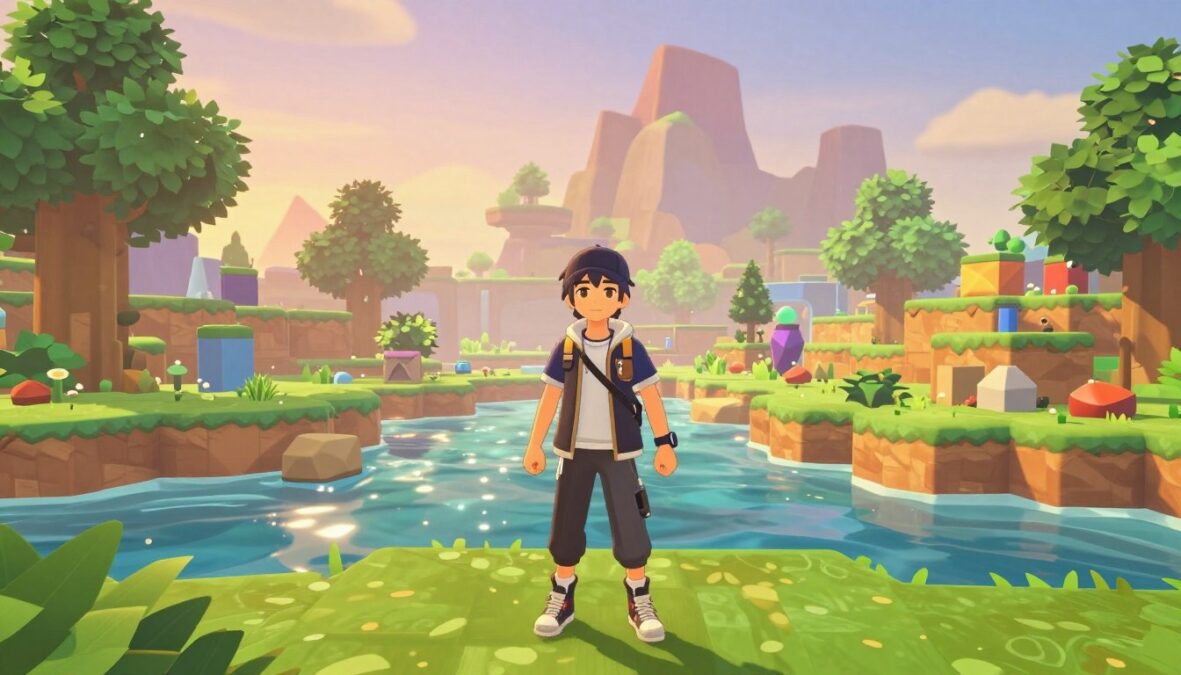
A generated asset is a draft to evaluate in context, not automatically a finished art-directed production asset. A character may look promising on its own but feel out of place beside the environment, interface, or tone of the game.
Creation tools in one studio
The studio brings together character and environment work with animation, interface, visual elements, and audio. This can be useful during early development, when a creator wants to see whether a scene feels coherent before spending time polishing every detail. Having those kinds of assets in one place can make it easier to test an idea as a playable whole.
For a small prototype, a temporary visual style can be enough to judge movement or level flow. A simple interface and a few audio cues may also show whether players understand an objective. The main question is whether each asset supports the experience, not whether it looks impressive in isolation.
Generated visuals also need to fit the purpose of the project. A bright, highly detailed character could distract in a puzzle that depends on subtle environmental clues. A repeated background object might make a small world feel crowded. Look at the whole game scene when judging an asset’s role.
Custom character rigging and animation
Wanaka Studio includes character rigging and animation tools that can generate a custom 3D character within seconds. Rigging connects a model to a structure that lets it move. The tools can speed up an early character pass, especially when you need to test a player shape or motion before settling on a final design.
Fast generation does not settle questions about style, readability, or animation quality. A character should be easy to see against the game’s background, and its movement should match what the player expects. If the model looks polished in a preview but clips through the scene or moves awkwardly during play, it still needs work.
Review assets for how they behave together. A character’s scale affects doors and platforms; animation affects how clearly an action reads. Interface art and sound should also suit the same game rather than compete for attention. Review generated characters and other assets in the actual game scene before deciding they are ready for the project.
Browser Publishing and Shareable Links
A published Wanaka Studio game can be opened from a shareable link in a modern browser, without asking players to download it. That makes quick playtests easier because a friend can open the game from a message instead of installing a separate build.
A playable link is a way to access the game, not the same thing as a downloadable project. The distinction matters if you expect players to receive files or want to move the work into another development workflow.
For an early test, send the link to a friend and ask them to try one part of the game. You can also use it with a small group to see where players hesitate, miss a goal, or misunderstand a control. That makes the browser route useful for sharing a prototype while it is still changing.
A browser game can be easier to show than a project that requires a setup process. That convenience does not mean every browser or device will deliver the same experience. Screen size, browser behavior, and the way a game is played can all affect what a tester sees.
The official Wanaka Studio overview describes published games as links that open in a modern browser without a download. That is a clear fit for sharing a playable idea with someone who wants to try it quickly. It is a different deliverable from a native game build or an editable engine project.
Think about the link as an invitation to play, not as a replacement for every project file a future production might need. If you are gathering feedback, tell testers what they should focus on, such as whether a jump feels fair. Test the published link in the browser your intended players are likely to use before sharing it widely.
Multiplayer Creation
Wanaka Studio’s built-in networking and state synchronization can turn a creation into a multiplayer session. Those tools provide a starting point for shared play, but they do not guarantee that every game design will work well online.
Multiplayer capability and a well-designed multiplayer game are separate things. Players need a reason to act together or compete, and the game must communicate what each person can do.
Built-in networking and state synchronization provide the basis for keeping a session’s shared game state aligned among players. That could support a small arena where players meet in one space, or a cooperative puzzle where two people activate separate switches. The simpler the shared objective, the easier it is to judge whether the interaction works.
A multiplayer feature does not decide the rules for you. A racing game might need clear starts and finishes, while a cooperative puzzle needs a way for players to understand how their actions connect. Without a shared purpose, adding more players can make a game busier without making it more engaging.
Start with a small group and an interaction that can be understood quickly. For example, players could work together to open one gate by activating two points. That idea tests whether the core cooperation makes sense before a project adds several roles or objectives.
Online play also changes the way a mechanic feels. An action that is easy to follow alone may become confusing when another player moves through the same space. Make the shared rules visible, then observe where players disagree about what happened or what to do next.
A small arena is another useful first test because its play space is limited and the objective can be direct. Keep the focus on whether players can take part in the same activity, rather than building a large map before the core interaction has been tried. Start with a simple shared objective or arena before building a game that depends on many simultaneous player actions.
Wanaka Studio Pricing in 2026
Wanaka Studio has a free plan with 60 daily credits, while Pro and Max add monthly credits, access to all models and exports without a watermark. The free plan has no credit-card requirement, making it a way to try the workflow before paying.
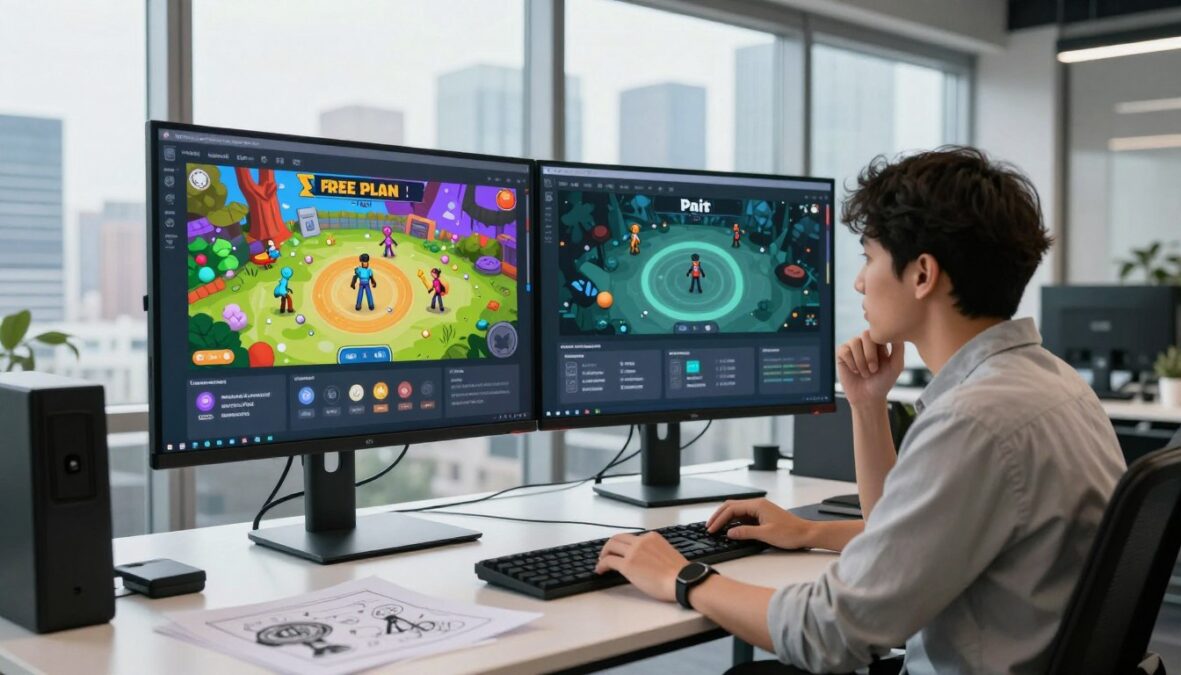
Pro and Max provide monthly credit allowances, but the plan details here do not give a quantity or price for either paid tier. Check the current pricing page for the amounts and rates that apply to your account before choosing a paid option.
| Plan | Credit allowance and model access | Export watermark status |
|---|---|---|
| Free | 60 credits per day; Wanaka 1.0 Lite model | Status not specified |
| Pro | Monthly credits; access to all Wanaka models | Exports without a watermark |
| Max | Monthly credits; access to all Wanaka models | Exports without a watermark |
The free plan’s daily allowance and Lite model access can be enough to explore how a prompt becomes a playable game. Credits are the usage allowance for creation activity, so consider how often you expect to generate or revise a project. A small test project may place different demands on credits than frequent work across several ideas.
Paid Pro and Max plans add monthly credits, access to all Wanaka models, and exports without a watermark. The tiers do not have interchangeable names: compare their current allowances and billing terms rather than assuming they offer the same amount of use.
Wanaka Studio offers monthly and yearly billing, with yearly billing advertised with two months free. That offer can matter to someone who expects steady use, while a monthly term may suit a creator still deciding whether the tool fits. Compare how often you expect to generate and which models you need before choosing a billing period.
Technical Limits to Test
The main technical risk is not getting a first version to run, but keeping complex game logic and shared state correct as a project grows. Interconnected mechanics deserve early testing, especially when one action changes what several other systems expect.
Do not treat a playable first build as proof that a complex project will remain reliable. Generative systems can struggle with long-term state correctness, tightly coupled game logic, and real-time synchronization across clients.
| Technical risk | Why it matters | What to test |
|---|---|---|
| Long-term state correctness | Progress or game state may stop matching earlier actions | Save, resume, and replay a sequence of events |
| Tightly coupled logic | One mechanic may depend on several connected rules | Change one rule and retest related actions |
| Real-time synchronization across clients | Players may see different versions of shared events | Repeat the same action from each client |
Debugging can take more hands-on work when a problem appears after several revisions. A creator needs to identify which action caused the fault, then isolate the part of the game that no longer behaves as expected. A game that looks correct in one quick playthrough may still fail after a longer sequence.
Deterministic testing means repeating the same actions and checking whether they produce the same result. That can be difficult when timing or player input changes the outcome. Make a short test routine for important mechanics, such as restarting a level and checking whether the same events occur in the same order.
Merging human edits with model outputs is another practical challenge. A manual change can conflict with a later generated change, especially when both affect connected parts of the project. Keep an eye on what changed between passes, and test the combined result instead of assuming each edit remains compatible.
Wanaka’s browser-first approach avoids native-build targets and console certification. That narrows some publishing requirements, but it does not promise that every project will be free of technical issues. Browser projects still need careful testing when their rules, state, or shared actions become more complex.
Use the risks of generative game systems as a reason to test the most important interaction before expanding its dependencies. A small prototype can reveal whether the mechanic holds up when repeated or interrupted. Validate the most interconnected mechanic early, before building more systems on top of it.
Wanaka Compared With Other Game-Making Approaches
The key comparison is the final deliverable: a playable browser link, an editable engine project or a codebase to maintain. Choose by what you need to keep, not by how quickly a first version appears.
A browser link prioritizes fast play and sharing, while an engine project or codebase offers a different degree of ongoing control. Those outputs serve different goals, so they should not be treated as interchangeable.
| Approach | What the creator keeps | Best fit |
|---|---|---|
| Prompt-to-game browser builder | Playable browser link | Quick prototypes and sharing |
| AI integrated into an existing engine | Editable scenes, scripts, and assets | Continued work inside that engine |
| General code builder | Codebase and related project files | Developers maintaining custom code |
Wanaka Studio is a browser-first option. Its emphasis is on turning a description into a playable game that people can open through a link. That is useful when the immediate goal is to test an idea or get a prototype in front of players.
An AI tool integrated into an existing game engine may suit creators who want assistance while keeping their work in that engine’s project structure. Scenes, scripts, and assets can remain part of an ongoing development workflow. The value is less about getting a quick link and more about control over how the project continues to grow.
A general code builder can be a better fit for someone who expects to work directly with a codebase. That route can offer more room to shape custom systems, but it also places more responsibility on the creator to understand and maintain the code. The best choice depends on the deliverable and the skills the project can support.
Publishing destinations also differ. Steam is a destination for native game builds, while HTML browser output follows a separate publishing path. A playable link should not be mistaken for an editable engine project or a downloadable codebase, and Wanaka should not be treated as offering native export.
Before starting, write down what you need at the end: a link that others can play, an engine project you can keep editing, or code you can maintain. That simple choice can prevent a mismatch between a fast prototype workflow and a project that needs deeper control. Choose the approach that leaves you with the kind of project you will actually keep developing.
Community Support and Product Maturity
Wanaka Studio offers a forum and Discord where creators can share work in progress, find collaborators and join playtests. Those spaces can make feedback easier to find while a project is still taking shape.
Version 1.0 arrived in early November 2026, so the support ecosystem belongs to a recently reached 1.0 product. That is useful context when judging how established the platform feels, rather than assuming a long history of product use.
Community spaces can help with practical questions that arise while you build. A forum gives creators a place to share a work in progress and talk through a project. Discord can support real-time conversation, collaboration, or arrangements for people to try a game.
Ask playtesters to focus on one mechanic, so their feedback points toward a change you can actually make.
Forum and Discord
Use the community for specific needs instead of treating it as a substitute for testing. Someone may be able to try a level, compare an interaction, or help with a project task. A focused request makes it clearer what kind of feedback or help would be useful.
Three practical activities can make those spaces more useful:
- Share a work in progress and describe what part needs feedback.
- Look for collaborators whose skills match a project task.
- Join playtests to observe how other people approach the game.
Sharing an unfinished project can be more productive when you include a clear question. For example, ask whether players understand which platform to reach next, rather than asking whether the whole game is good. That gives people a concrete detail to respond to.
A version 1.0 product in 2026
The version 1.0 milestone in early November 2026 marks a recent point in the product’s development. It is a reason to approach the platform as a newly matured product rather than an established tool with a long-running support history. The forum and Discord may still be useful places to learn how other creators work with it.
For a creator, maturity matters most when the project depends on a predictable workflow over time. A casual prototype has different needs from a large game that must keep growing through many development stages. Try the community spaces with a small project and judge whether the feedback suits your working style.
Bring one clear question to a playtest, such as whether the player can identify the goal before moving. Feedback about one mechanic is easier to sort and use than a broad verdict on an unfinished project. Use a playtest to collect feedback on one specific mechanic rather than asking others to judge an unfinished game as a whole.
Conclusion
Wanaka Studio is a strong fit for creators who want to turn a short idea into a shareable 3D browser game and refine it visually. It is most compelling for prototyping, not for assuming a browser workflow replaces every kind of engine project.
If your goal depends on a native engine project, confirm that the required output is supported before investing time. Start with a small prototype that tests the central mechanic, then decide whether the workflow suits the larger idea. Try one small prototype and test its central mechanic before committing to a larger project.
FAQ
Can I use Wanaka Studio for a commercial release?
Can I export a Wanaka Studio game to Steam or a console?
Do unused Wanaka Studio credits carry over?
Can Wanaka Studio support multiplayer in every game genre?
What should I build first in Wanaka Studio?
What happens when AI-generated changes conflict with my manual edits?
There are no reviews yet. Be the first one to write one.